

Introduction to Resin Art supply essentials
Resin art is a captivating and versatile craft that involves the use of epoxy resin—a liquid compound that hardens into a clear, glossy finish when mixed with a hardener. It’s popular for creating decorative pieces like wall art, jewelry, trays, and even furniture accents.
To begin your resin art journey, you’ll need more than just creativity. You’ll require essential resin supplies such as epoxy resin kits, measuring tools, mixing cups, protective gear, and a ventilated workspace to ensure safety and precision. These tools help you mix, pour, and cure resin effectively.
What makes resin art especially exciting is how customizable it is. You can add pigments, mica powders, alcohol inks, or embed materials like dried flowers, crystals, seashells, and metallic flakes to create layered and dimensional effects. Each project becomes one-of-a-kind.
From simple DIY resin coasters to stunning abstract flow art pieces, resin art allows you to experiment with colors, textures, and finishes. With the right tools and a little practice, you’ll be able to craft pieces that are not only functional but also visually breathtaking.
Setting Up the Workspace with Resin Art Supplies

Creating resin art starts with a proper setup. A clean, organized, and well-ventilated workspace is crucial—not just for neatness, but for your safety and the quality of your artwork. Choose a room with good airflow or work near an open window. If possible, use a fan or exhaust system to help disperse fumes.
Protect your working surface with a plastic drop sheet or silicone mat. Resin can be messy, and it cures permanently—so any spills need to be prevented from sticking to your table or floor.
Before you begin mixing, place your epoxy resin bottles in a warm water bath (using a plastic container) for about 10–15 minutes. This helps reduce bubbles and makes pouring smoother. Be sure the caps are tightly sealed to avoid water contamination.
Wear protective gear at all times. Use nitrile gloves to avoid skin contact, a respirator mask (rated for organic vapors) to protect against fumes, and safety glasses to shield your eyes. Resin can cause allergic reactions with repeated exposure, so don’t skip this step.
To keep your project clean and precise, use high-quality painter’s tape around the edges or backing of your mold or base. This stops resin from seeping into areas you want to keep clean.
Finally, have a dust cover or cardboard box lid ready to gently place over your project as it cures. This shields your resin from hair, dust, and particles that can ruin a glossy surface.
Safety Equipment and Precautions
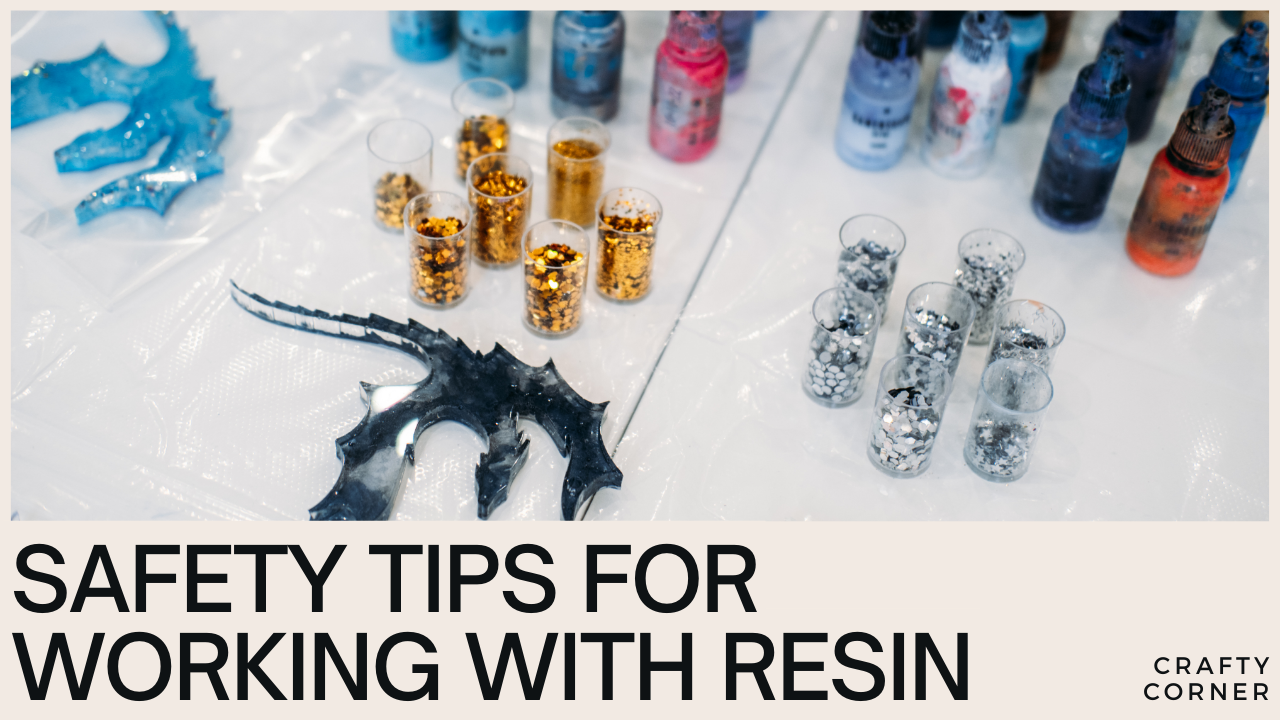
Safety is non-negotiable when it comes to working with epoxy resin. This material can be toxic when mishandled, so taking the right precautions ensures both your health and the success of your project.
Start by wearing nitrile gloves—they offer better chemical resistance than latex. Pair them with protective goggles to guard your eyes from splashes and a respirator mask (rated for organic vapors) to avoid inhaling fumes during mixing and pouring.
Ventilation is key. Never work in a sealed room. Open windows, use fans, or consider working outdoors if possible. This helps disperse the fumes and keeps the air in your workspace safer to breathe.
Before you begin, read the resin manufacturer’s instructions carefully. Every resin formula is slightly different, and some may have specific working times, temperature requirements, or safety guidelines. Pay attention to warning labels, recommended ratios, and cure times.
Keep a first aid kit and fire extinguisher nearby—especially if you’re using heat tools like a torch to remove bubbles. While serious accidents are rare, being prepared ensures peace of mind.
By following these safety measures, you create a space that’s not only creative and inspiring but also responsible and risk-free
Measuring and Mixing Epoxy Resin
Precision is everything when working with epoxy resin. Accurate measuring and thorough mixing ensure your resin cures properly and delivers a smooth, professional finish.
Start by placing a plastic-lined surface or silicone mat underneath your work area to catch any spills. Use marked plastic measuring cups to measure the resin and hardener according to the manufacturer’s specified ratio—usually 1:1 or 2:1. Never estimate—improper ratios can cause soft spots or incomplete curing.
Pour the measured parts into a single container and use a plastic stir stick or silicone spatula to mix. Stir slowly and steadily, scraping along the sides and bottom of the cup for at least 3–5 minutes. Fast stirring can trap air bubbles; slow mixing helps reduce them.
Since epoxy resin self-levels, your work surface must be perfectly flat. Otherwise, the resin will pool unevenly, creating an unbalanced finish.
If the resin is too thick or has bubbles, gently warm it with a heat gun or hair dryer before mixing. This thins the resin and releases trapped air. Avoid open flames unless you’re experienced with torches.
For small or detailed projects, use tools like popsicle sticks, foam brushes, or syringes to apply the resin precisely where you want it.
Mastering this step ensures a crystal-clear, bubble-free, and durable resin layer every time.
Applying Resin

Once your resin is thoroughly mixed, it’s time to bring your project to life. Begin by pouring the resin slowly onto your surface or into your mold. Use a flat plastic spreader, foam brush, or even a gloved hand to gently guide the resin across your project, ensuring full and even coverage.
For flat surfaces, work from the center outward, pushing the resin toward the edges. This technique helps maintain a consistent layer and reduces the risk of overflow. If you’re coating a surface like wood or canvas, allow some resin to drip over the sides for a smooth, sealed finish.
To remove trapped air bubbles, sweep over the surface with a credit card, plastic scraper, or pass a heat gun or butane torch about 6 inches above the resin. The heat will pop surface bubbles and help the resin settle into a glassy finish. Be careful not to hold the heat too long in one area—it can scorch or discolor the resin.
If you’re working on a resin flow art piece, use heat to gently move and blend colors, creating dreamy patterns and fluid designs. The heat thins the resin temporarily, allowing pigments to swirl and interact naturally.
For more structured pieces, such as coasters, jewelry, or decorative objects, silicone molds are ideal. They’re non-stick and flexible, making it easy to release the hardened resin while preserving intricate shapes and details.
Taking your time with the application ensures a polished, professional-looking final result.
Want the final curing and finishing section done next?
Shaping and Smoothing Resin

To shape and smooth your resin, use a flat plastic spreader or a credit card to remove any excess resin and create a smooth surface. Use coarse sandpaper, such as 80 grit, to prepare a surface for a new coat of resin by sanding down a previously cured resin layer to create a rough texture that allows the new resin to adhere effectively. Use a sanding block or electric sander to sand down your project and remove any imperfections, and then apply a fresh coat of resin to seal and protect it.
For a glossy finish, use a liquid colorant or add crushed glass to your resin for a unique visual effect. Consider using cradled wood panels as a substrate for your resin art project due to their sturdy construction and lip that holds resin in place, making them ideal for pouring tinted resin and creating flow art or ocean-themed designs.
Curing and Drying Resin
Once you’ve applied your resin, let it cure and dry according to the instructions, making sure it’s in a well-ventilated area and away from direct sunlight. The essential tools and supplies are crucial for effectively using epoxy resin as a surface coating, ensuring a smooth and polished look on your artwork.
Use a dust cover to prevent dust and debris from settling on your wet resin, and avoid touching or handling the resin until it’s fully cured.
If you need to speed up the curing process, use a heat gun or hair dryer on a low setting, but be careful not to overheat the resin.
Consider using a narrow container or cardboard box to create a warm and dry environment for your resin to cure.
Adding Color and Finishing Touches
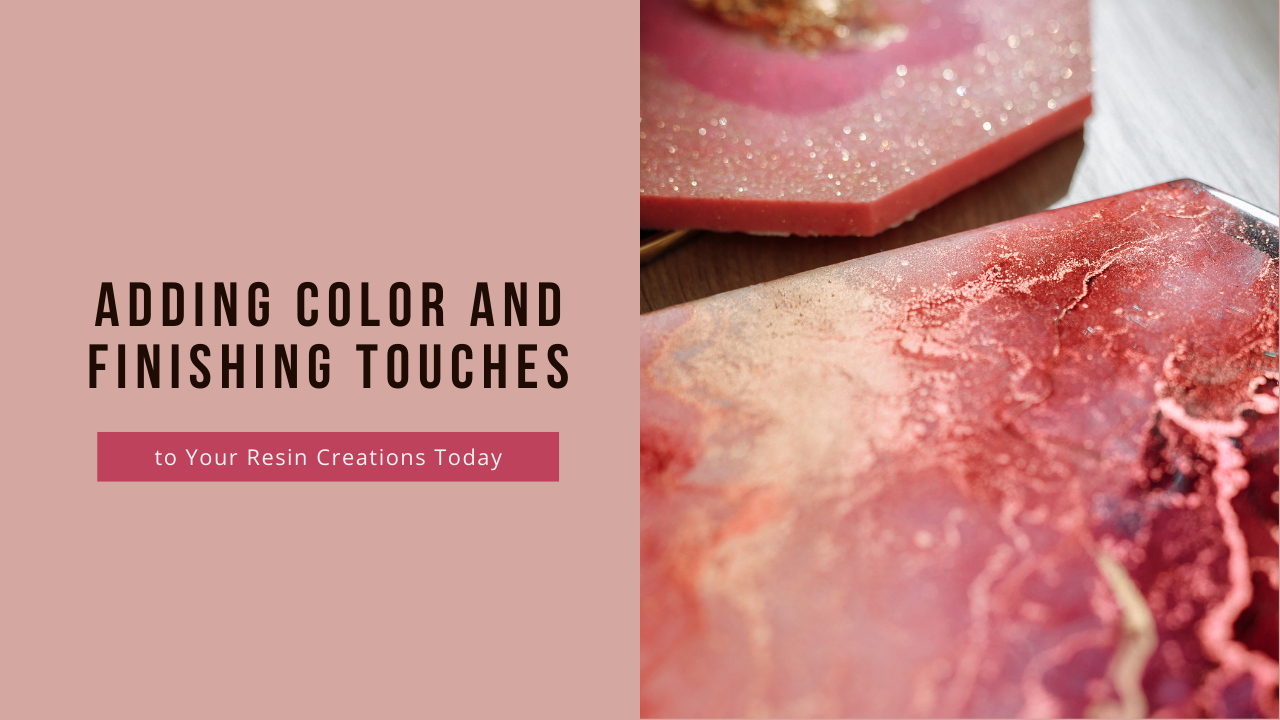
To add color to your resin, use a liquid colorant or mix in some pigment powder, and then apply a fresh coat of resin to seal and protect it. Tinted resin can also be used in resin art and flow art to achieve modern finishes, especially when poured onto sturdy substrates like wood panels or metal trays. Additionally, alcohol ink can create stunning petri dish resin art when combined with mixed resin in silicone molds. However, due to its flammability, avoid using direct flames like a torch and opt for a heat gun to ensure safety.
Consider adding some visual appeal to your project with gold leaf, glitter, or other materials, and use a foam brush or popsicle stick to apply them.
Use a paper towel or cloth to wipe away any excess resin or debris, and then apply a final coat of resin to seal and protect your project.
For a unique and personalized touch, consider adding dried flowers, beer caps, or other materials to your resin art project.
Cleaning and Maintenance
Keeping your resin art tools and workspace clean is crucial for achieving the best results. After each use, clean your tools with hot soapy water and dry them thoroughly to prevent resin residue from building up. Using a plastic drop sheet or a plastic lined surface can help protect your work area from spills and stains.
For tougher resin residue, a mixture of isopropyl alcohol and water can be very effective in dissolving and removing the buildup. Regularly cleaning and maintaining your tools and workspace not only extends their lifespan but also ensures that your resin art projects remain free from contamination and imperfections.
Tools for Plastic Resin
Having the right tools is essential for creating stunning resin art projects. A flat plastic spreader is perfect for applying and smoothing out the resin, ensuring an even and professional finish. A plastic stir stick is ideal for mixing and blending the resin thoroughly, while a plastic measuring cup is necessary for accurately measuring the resin and hardener.
To remove bubbles and air pockets from the resin, a heat gun or hair dryer can be very effective. Good quality painter’s tape is useful for creating sharp edges and lines, and silicone molds are great for crafting intricate designs and shapes. By investing in these essential tools, you can elevate your resin art projects and achieve a high-quality finish every time.
Conclusion of the Resin Art Project

- With the right resin art tools and supplies, you can create a wide range of unique and visually appealing projects, from resin coasters to complex flow art pieces.
- Remember to always follow safety precautions and use protective gear when working with resin, and don’t be afraid to experiment and try new things.
- Consider investing in a good quality resin art supply kit, which usually includes epoxy resin, plastic resin tools, and other essential supplies.
- With practice and patience, you can create stunning resin art pieces that will impress and inspire others.
.
Additional Resources
Explore tutorials and product reviews from top creators and resin suppliers:
- How to Use Epoxy Resin for Beginners – ArtResin
- The Ultimate Resin Starter Guide – Resin Obsession
- YouTube – Resin Casting Beginner Tips
You can grab your resin tools and starter kits from Michaels, Joann, Amazon, ArtResin, and Resin Obsession. Learn techniques from trusted sources like ArtResin tutorials, YouTube, and Resin Obsession’s guide.
Ready to get started with resin art?
What’s the first piece you’d love to create—jewelry, coasters, or maybe wall art? Tell us in the comments below and let your creativity pour!