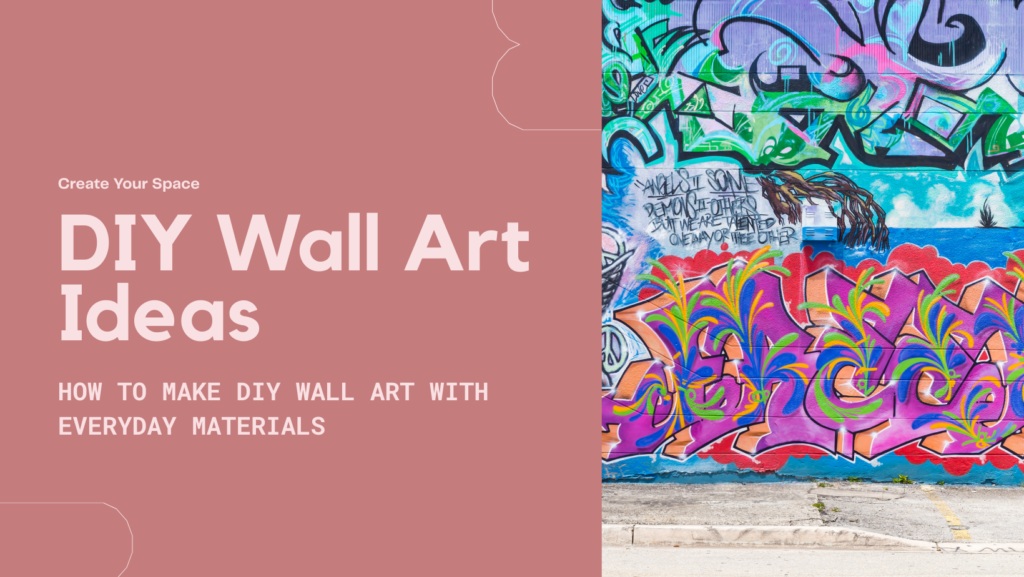
Are your walls feeling a little dull? You don’t need to spend a fortune on fancy decor to add personality to your space. With a few everyday materials and a creative spirit, you can turn trash into treasure—and create DIY wall art that’s both stunning and meaningful.
In this guide, we’ll walk you through beautiful wall art ideas using simple, accessible materials. Let’s transform your walls, your way.
Why DIY Wall Art Is Having a Moment
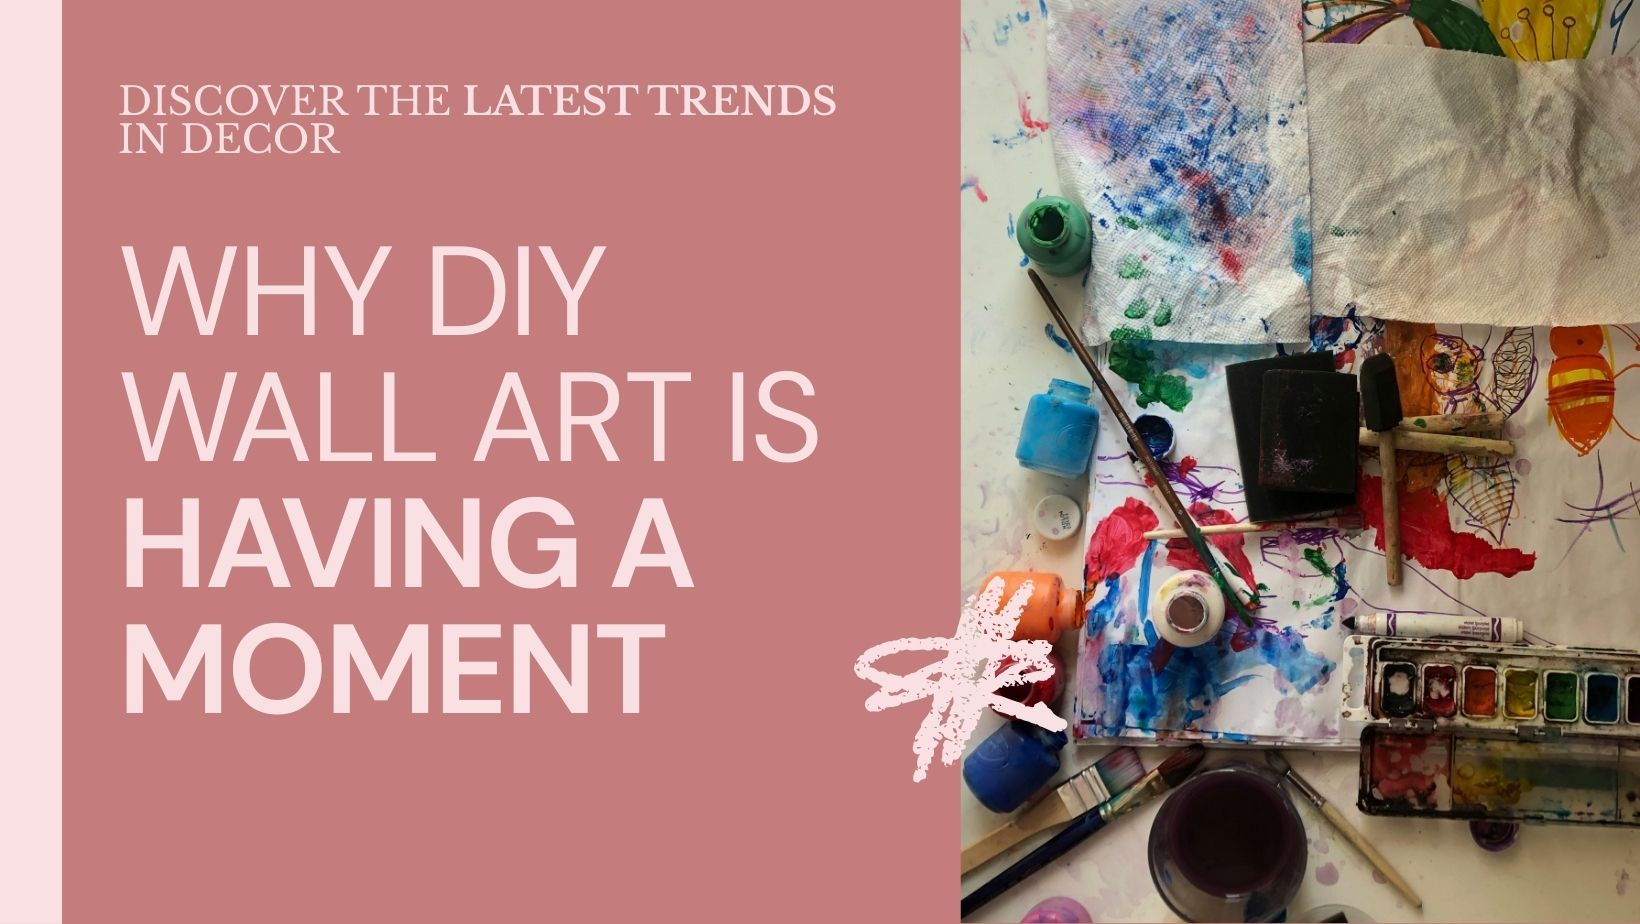
DIY wall art isn’t just a fun weekend activity—it’s a lifestyle. In a world that craves authenticity, handmade decor stands out. It reflects your personality, saves money, and is kind to the planet.
With trends leaning toward sustainability, repurposing old or unused items is both stylish and eco-conscious. And let’s be real—there’s something deeply satisfying about pointing to a gorgeous piece of art and saying, “I made that.”
Everyday Materials That Work Like Magic
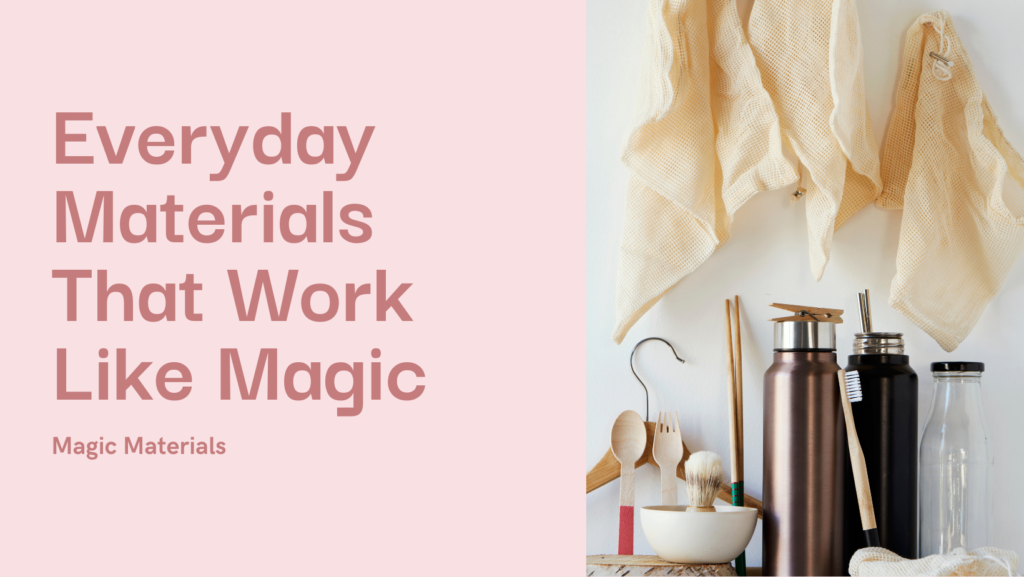
You probably already have what you need! Here’s a list of everyday items you can turn into wall-worthy art:
- Magazines, newspapers, or paper bags
- Scrap fabric, old T-shirts, or scarves
- Cardboard boxes or cereal cartons
- Leaves, twigs, or dried flowers from your backyard
- Bottle caps, buttons, or jar lids
- String, glue, scissors, and a splash of paint
Don’t toss—create! The beauty is in what you already have.
DIY Wall Art Ideas You Can Make Today
1. Magazine Collage Wall
Cut out images, patterns, or words from old magazines. Arrange them in a theme or shape (like a heart, moon, or quote). Use glue to attach them to a piece of cardboard or directly on your wall. Add a clear coat if you want a glossy finish.
🎨 Creative twist: Mix text and images for a modern, editorial feel.
2. Fabric Scrap Canvas
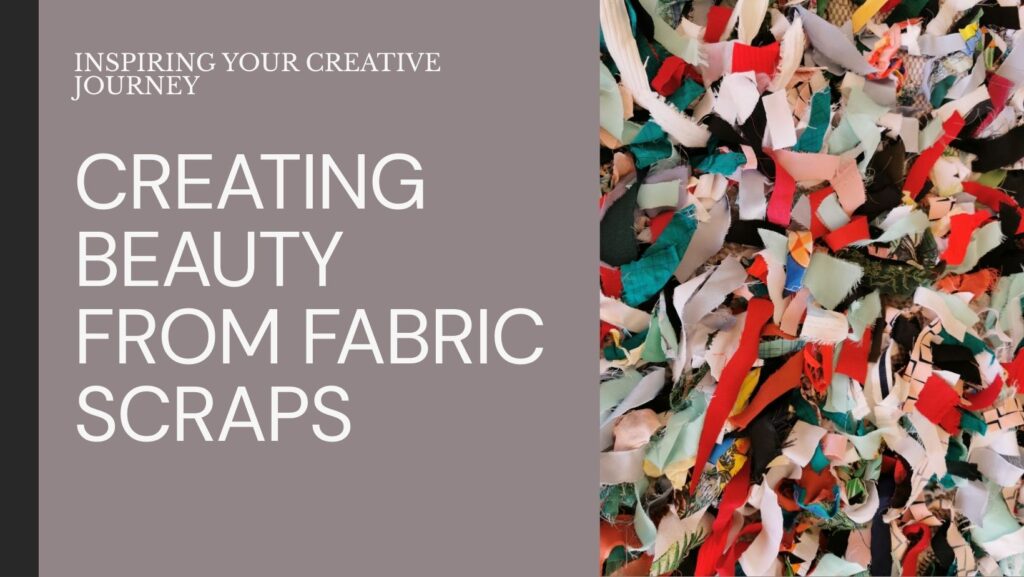
Got leftover fabric? Stretch it over a wooden frame or sturdy cardboard. Staple or glue it tightly. Choose colors that complement your room. You can create patterns or even patchwork designs.
🧵 Style tip: Mix florals and solids for a boho vibe.
3. Nature-Inspired Wall Hanging
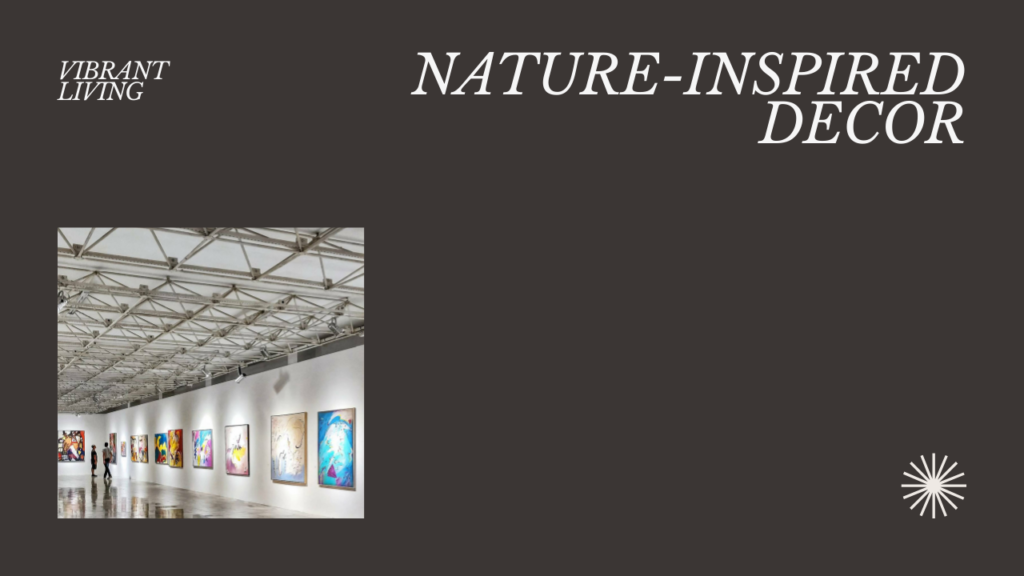
Gather small twigs, dried flowers, and leaves. Use string to tie or glue them into vertical hangings or mandala shapes. Hang it with twine for that earthy, rustic charm.
🍃 Bonus idea: Add beads or feathers for texture.
4. Geometric Cardboard Art
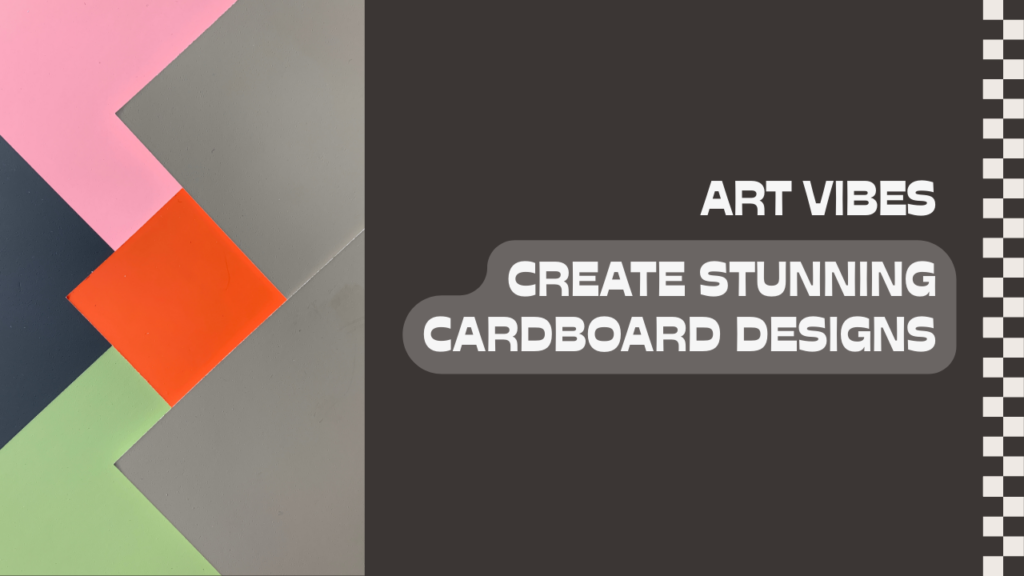
Cut cardboard into triangles, circles, or abstract shapes. Paint them in a consistent palette. Glue them onto a canvas or thick board in a layered arrangement.
🧩 Design tip: Try metallic paints or monochrome schemes for modern flair.
5. Button Art Design
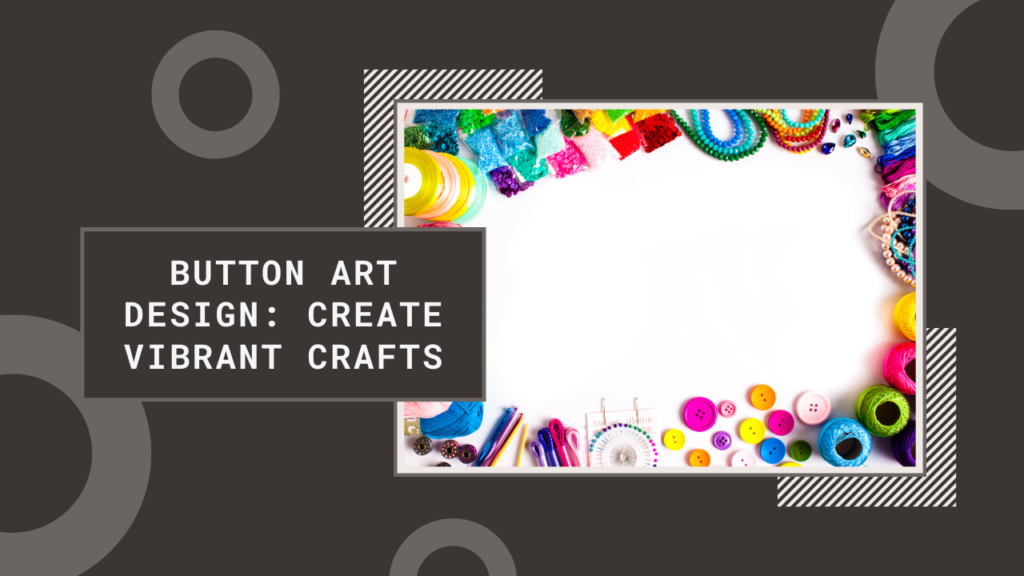
Draw a heart, tree, or initials on a canvas. Fill it in with buttons of various sizes using hot glue. Mix and match colors or keep it tonal.
🖼️ Display tip: Frame it with a thrifted photo frame for a clean finish.
How to Display Your DIY Wall Art
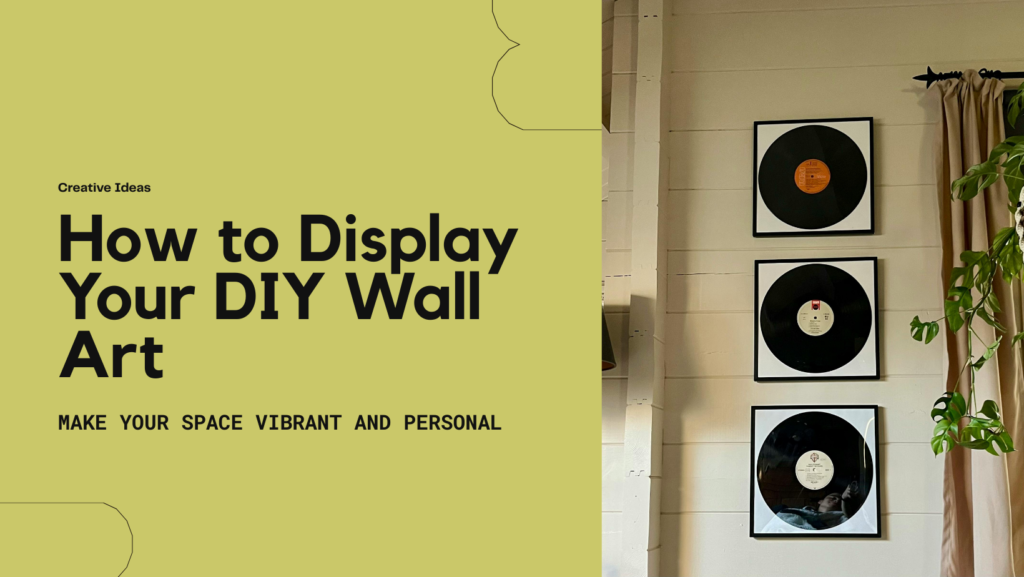
Get creative with how you showcase your work. Here are a few chic ideas:
- Create a gallery wall with different shapes and textures
- Use washi tape or command strips for a no-nail setup
- Hang with clipboards or binder clips for an industrial edge
- Lean framed pieces on floating shelves
Layering multiple DIY pieces together adds depth and personality to your space.
Tips for a Professional Look
- Stick to a consistent color palette (like warm tones or black and white)
- Balance symmetry and negative space
- Use quality glue, backing, and hangers
- Don’t overcrowd—let each piece breathe
A little planning goes a long way in elevating your handmade art.
Upcycling = Beautiful + Conscious Living
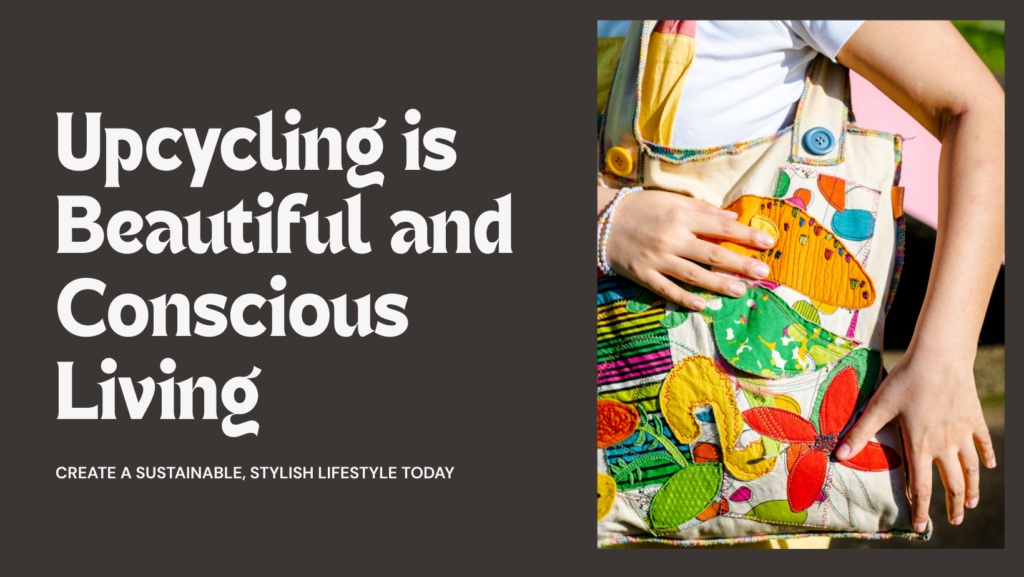
Turning old materials into art isn’t just cost-effective—it’s powerful. You’re reducing waste while creating beauty. Each piece tells a story. It’s more than decor—it’s a reflection of who you are.
My Favorite DIY Wall Art Moment
One rainy Sunday, I found old fabric and some gold paint tucked away in my craft bin. With a little love and layering, I created a stunning gold-and-cream abstract canvas. It now hangs in my hallway, and every time someone compliments it, I proudly say, “Thanks—I made it.”
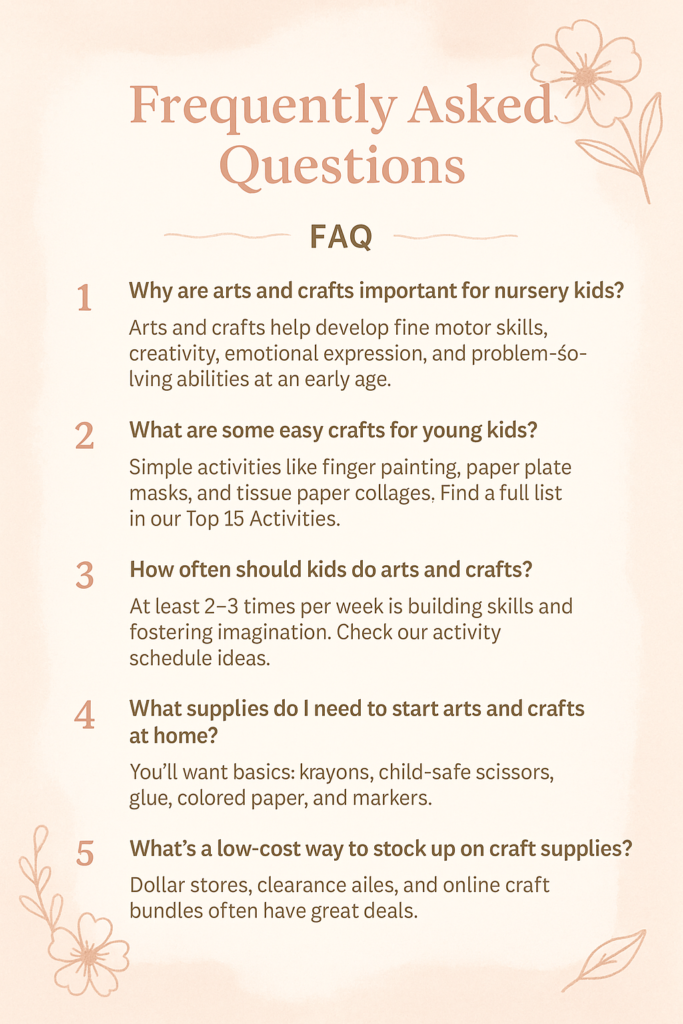
FAQ – DIY Wall Art Basics
Additional Resources
Explore even more creative projects with these helpful links:
- DIY Wall Art Ideas on Pinterest
- Video Tutorials for Beginner Wall Art
- Free Printable Art Designs
- Creative Ways to Hang Art
- Eco-Friendly Crafting Tips
Which project will you try first?
Snap a pic and tag us—we’d love to see your masterpiece on our community wall!


One response to “How to Make DIY Wall Art with Everyday Materials”
j9pt5s